Online or hybrid teaching provides the opportunity to enrich the classroom and put students in a position from which they are actively engaging with and not just passively receiving course content. Incorporating multimedia tools into your course design has the potential to help make your classes more dynamic and stimulating. This module will give you a brief overview of the rationale for using multimedia, ways to find existing resources you can incorporate into your course, preparation steps to keep in mind, the multimedia options available in Blackboard, and a few types of outside tools you may consider using in conjunction with Blackboard.
Why Multimedia for Online Courses?
In the Preparation for Teaching Online workshop we provide several examples of the use of video for introductions, a screencast tour of the workshop sites and in our week two topic, discuss various options and approaches to using multimedia and designing assignments that give students the option to create multimedia (see week two, topic 4). Some ways that SPS faculty have used multimedia in their courses:
-
As introductory material—personal intros via webcam or audio, a narrated screencast video course tour, an explanation of the syllabus or first assignment. See our exploration of the possibilities for intro videos here.
-
To provide additional explanation or feedback—feedback to the class on a lesson, pointing out common errors made; explaining the context of an upcoming assignment
-
As primary commentary or lecture content—a video or narrated PowerPoint lecture are common uses
-
To provide focused discussion around an image or visual artifact—providing an image, audio or video file, or link to such resources around which an assignment or discussion is centered
-
To allow students to capture something from outside the classroom as part of an assignment or to share with classmates
-
To use visual or audio material to better help represent abstract or vague concepts or to provide concrete examples
Two ways to incorporate multimedia are 1. To find resources available online that complement and enhance your course, 2. To create multimedia and allow your students to create it as an integral part of their assignments.
Finding Multimedia Resources
To find appropriate multimedia resources to complement your course, beyond all the various news and information sites, museums, professional organizations, governmental and institutional sites and international media and publications,you might also seek out sources of open educational resources such as OER Commons, Merlot and SERC. In some cases, your publisher may make resources available with your textbook.
Even if you are simply incorporating existing resources, you still want to be strategic about how many and with which resources you ask your students to interact. If you can’t articulate the purpose for which you are asking students to view, listen, curate, or comment on multimedia, then you might want to reconsider using it.
When requiring viewing of multimedia resources which do not include captioning or transcripts, be prepared to offer a text summary or an alternate assignment for students who are unable to access the resource.
Preparation
When incorporating Multimedia into your course, it’s best to pick one or two tools to use in order to avoid overwhelming students. When choosing tools to create multimedia, ask yourself what the multimedia is bringing to the course material that would be lacking without it.
Making effective us of multimedia requires some initial time and effort. Sign up for training or spend some time practicing with a tool before committing to use of it in your course. When it is a case of requiring students to use multimedia tools, keep the number of different tools to a minimum. Be prepared to explain to students why you are asking them to use the tool or resource—if you cannot give a compelling reason, you should probably forego using it. In many cases, you might present multimedia tools as one option that students might choose to use in fulfilling an assignment.
Planning is essential–from the point when you begin to lay out your course plan week by week, indicate where and when you will use a particular tool or resource for presentation or an activity. In creating a course development or preparation checklist for yourself, factor in the time you might need for training or experimentation with a tool.
We recommend creating a script for all videos—by doing so you make it much easier later to create captions or to provide a transcript.
In Blackboard
- VoiceThread
VoiceThread is a web-based program that allows you to upload pictures, videos, or documents, record accompanying audio or video commentary and invite your students to add commentary by means of a microphone, webcam, keyboard or telephone. This is a particularly good tool for courses in which visual materials are the focus of an instructional activity. You can link to a VoiceThread directly from your Blackboard course site and VoiceThread is integrated into the Grade Center. Please see our VoiceThread quick guides on our faculty page for step-by-step instructions for you and your students.
Browse a catalogue of public VoiceThreads here.
- Collaborate
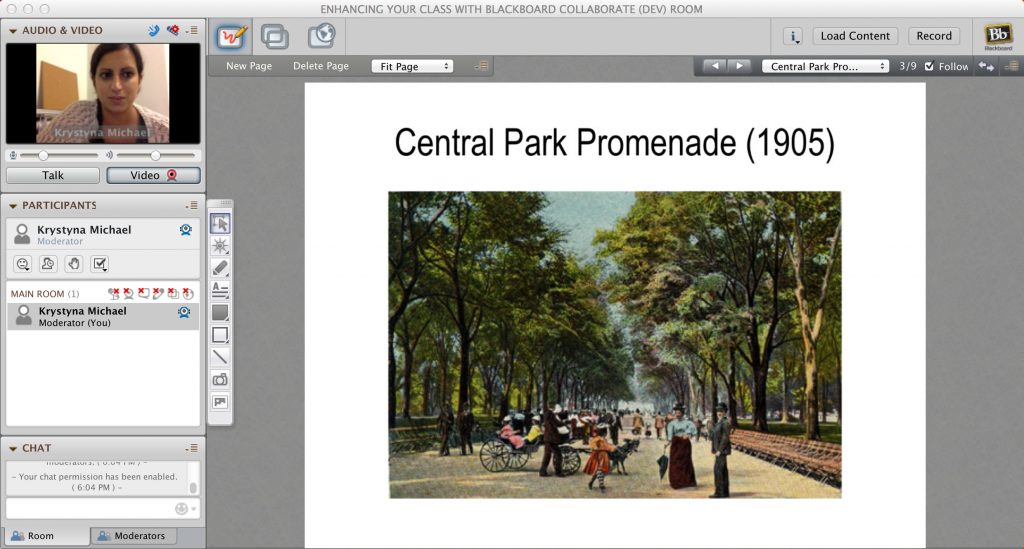
Collaborate is a Blackboard tool that allows you to set up real-time online sessions with your students, including audio and video, an interactive Whiteboard, application and desktop sharing, and “break-out rooms” for student groups among other features. Possible uses of Collaborate are online office hours, a “meet and greet” with students at the beginning of the semester, one-on-one or small group meetings, real-time class presentations, or group meetings among students. Please see the Collaborate quick guides on our faculty page for step-by-step instructions and best practices.

- Mashups
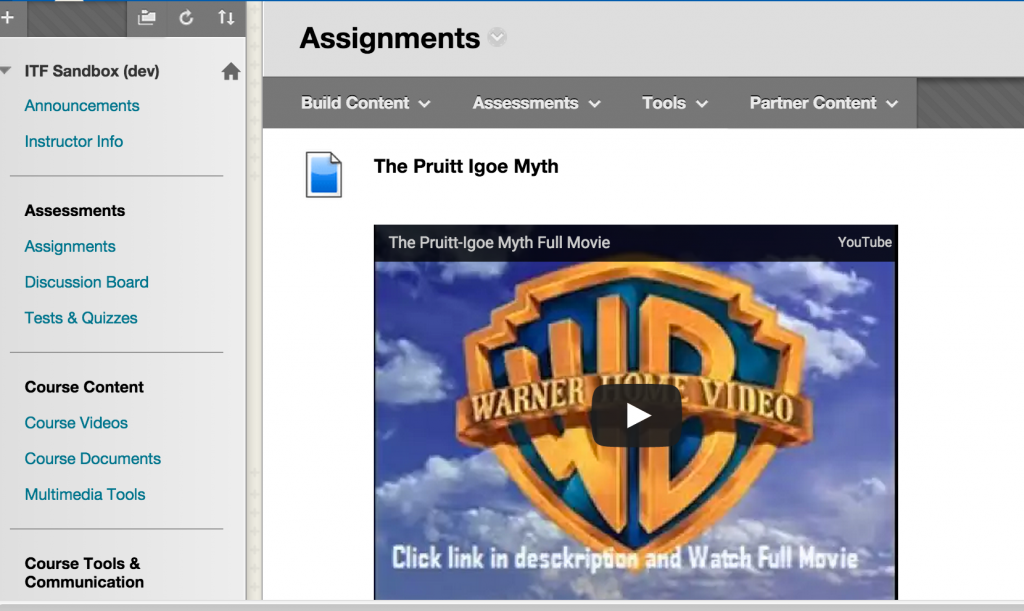
The Mashup function in Blackboard allows the viewing and sharing of media content from external websites. At present, you can embed (publicly available) videos from YouTube Video and Flickr Photos into your course site. A Mashup can be used in a variety of ways within a course, such as, a standalone learning object, part of a test question, a topic on a Discussion Board thread, or as part of an assignment. Although fully integrated within the Blackboard course, the Mashup resides on an external website, reducing file space used within a course. Please see the Mashups quick guide on our faculty page.

Used in Conjunction with Blackboard
- ePortfolio
ePortoflios are a way for students to collect and display the work they do for a specific course. ePortfolios can be used in conjunction with Blackboard and although Blackboard now offers an ePortfolio tool, at SPS we use Digication’s ePortoflio, for which SPS has full training and support available.
- Screencasts
Screencasting tools capture your actions on the computer screen, whether navigating through a website or Blackboard course site, narrating a PowerPoint slide show, scrolling through a document, or highlighting photos. Some of them also allow for an intermittent or continuous view of your speaking via a webcam. Examples of screencasting tools are Screencast-O-Matic, Jing, Screenr, and Camtasia (among others). SPS offers a free Screencast-O-Matic Pro license for SPS faculty along with training and support. Please see the Screencast-O-Matic Pro quick guide on our faculty page.
There are a number of examples of SPS Course Introductions on YouTube. These include those in which the instructor appears on webcam as the tour unfolds (e.g., Introduction to Statistics Course Tour by Joan Mosely) as well as without the appearance of the instructor (e.g., Intro to Enthnology of Africa, AMER200, Antropology 110: Urban Anthropology, or The Solar System).
- Webcam videos
A webcam video is a great option for lending a personal feel to your course with an introductory video message, recorded lecture, or webcam instructions for a test or assignment. Screencast-O-Matic Pro can be used to make videos that feature only the webcam, as well as screencasts, or a mix of the two.
Such videos can be very short and casual, as in this workshop introduction by Krystyna Michael
but they can also be more formal—if you are using this method to introduce yourself to students, your goal should be to reflect something of your real personality and at the same time, convey your enthusiasm about the course to your new students.
Remember to post a transcript or create captions for all videos.
- Narrated PowerPoint presentations
Lengthy PPT slides in a fully online class tend to be a poor medium for delivery of content. These can be more interestingly delivered via screencast videos, allowing for narration without ballooning the file size. Some points to keep in mind when preparing these–:
Do—use high contrast colors, larger fonts, key information only (narrate the rest) and compelling images or significant diagrams rather than just decoration
Don’t—have overlong presentations (not too many slides and generally no more than 15 minute segments); narrate and explain, don’t just read off the slides. Here’s a sample from Dr. Melanie Lorek of a narrated PPT lecture, captured via screencast video and then uploaded to YouTube and embedded in Blackboard.
- Timelines
Digital timelines allow you to create, share, embed and collaborate on interactive timelines that integrate video, audio, images, text, links, social media, location, and timestamps. One example of a digital timeline platform we particularly like is Dipity, but Tiki-Toki and Timetoast are also good options.
- MindMaps
Mindmaps provide a pictorial way to organize ideas, demonstrate connections and relationships between things and illustrate the flow of steps or events. Some popular applications for mindmapping are Mindomo and Mindmeister.
- Infographics
Infographics provide a simple and visual way to present complex information. An infographic might summarize all the major points of a long text in just a series of images fitted into one page. There are many easy to use and free infographics creation tools—two of these are Piktochart and Easelly.
- Social Bookmarking
Social bookmarking allows users to collect, curate, bookmark, and tag webpages. One example of a social bookmarking tool is Diigo, which also allows users to highlight any part of a webpage and attach notes to these highlights or to entire webpages. Annotations and web collections may be kept private or shared with a group of Diigo users for collaborative purposes. Another option is to use Education Genius, which allows students to collaboratively annotate texts or web pages.
Things to Think About:
-
What kinds of new activities and engagements with course material might multimedia make possible in your course? How could it add to sense of instructor presence, interest, or stimulate creativity in students? Could it play a role in helping to explain a difficult concept or problem?
-
What are your concerns or issues in regard to creating multimedia? Are there suitable uses in your course?
-
What barriers exist for you to creating and using multimedia? Time, skill, other?
Things to Do:
-
Investigate just one of the tools mentioned in this module. How easy is it for you to use? Can you see any applications for your own course? Might you need some additional training? If so, contact OFDIT at our website
-
Do you already have videos that you would like to use that are not captioned? See how easy it is to add captions with our guide or watch our video tutorial (below)

